1. What is Pad Printing?
On electronics, medical devices, automotive interiors, and custom hardware, we frequently see crisp logos, fine text, and functional iconography. Printing on flat surfaces is straightforward—but how do you print precise markings onto curved, concave, textured, or recessed components?
The answer is Pad Printing (also known as tampography). As an indirect offset printing process, pad printing is widely regarded as the ultimate industrial solution for transferring 2D images onto complex 3D shapes.
2. How Does Pad Printing Work?
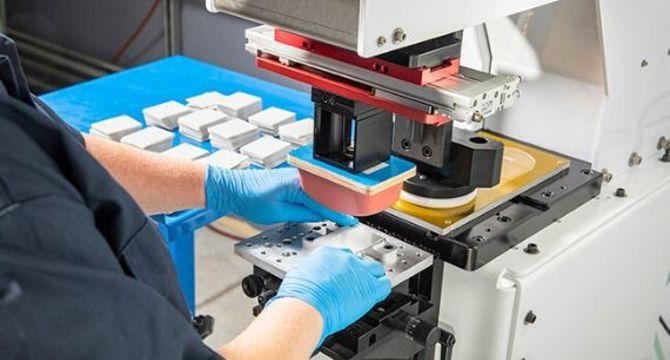
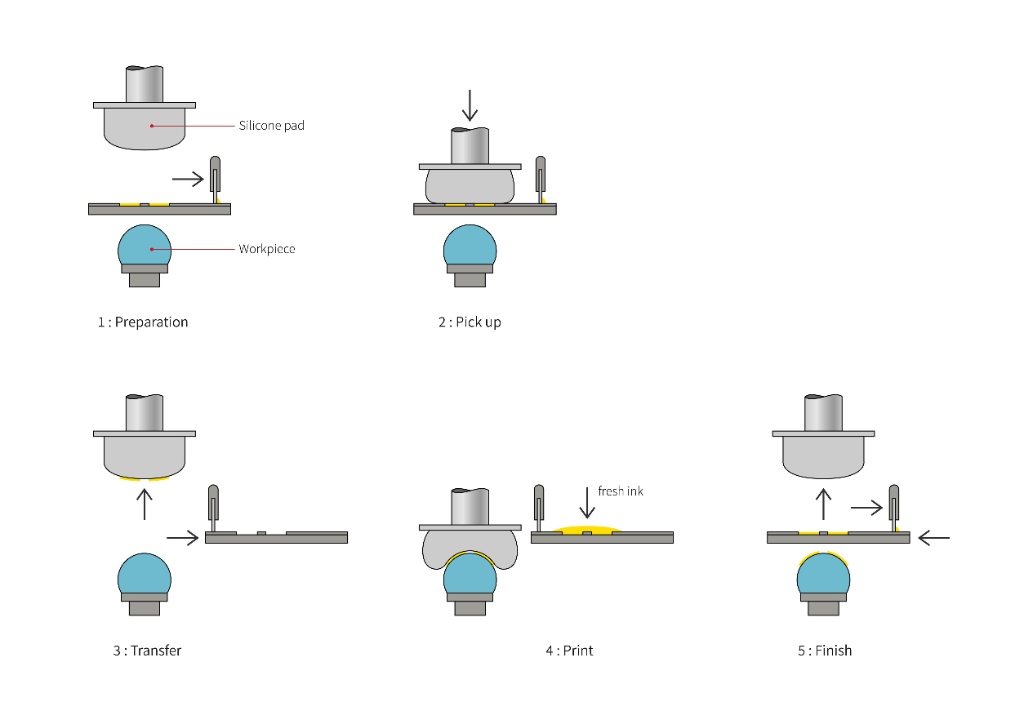
The concept of pad printing can be compared to using a flexible rubber stamp, but with industrial-grade precision. The process relies on three primary components: an etched cliché plate (holding the design), a silicone pad (the transfer medium), and specialized ink.
A standard printing cycle follows four distinct stages:
- Inking and Scraping: Ink is spread across the cliché plate. A doctor blade or sealed ink cup then wipes away excess ink, leaving it only inside the etched artwork cavity.
- Pad Pick-Up: A soft, elastic silicone pad descends onto the cliché plate. As the ink comes into contact with the pad, solvents evaporate, making the outer ink layer tacky enough to stick to the pad cleanly.
- In-Flight Transfer: The silicone pad lifts and moves over to the target substrate. During transport, additional solvent evaporates, increasing ink tackiness for optimal transfer.
- Stamping (Image Transfer): The pad presses firmly onto the product surface, conforming smoothly to its contours. The ink adheres to the product and detaches completely from the silicone pad as it retracts.
3. Key Advantages: Why Choose Pad Printing?
Selecting the right surface finishing method depends heavily on product geometry, material, and volume. Pad printing stands out in modern manufacturing due to several unique strengths:
- Extreme Geometric Flexibility: The flexible silicone pad deforms to match spherical, concave, convex, stepped, or textured surfaces without distorting the artwork.
- High Precision for Fine Details: Etched steel or photopolymer plates reproduce ultra-fine lines (down to 0.1 mm), sharp text, micro-scales, and detailed iconography.
- Broad Material Compatibility: Formulated with dedicated industrial inks, pad printing bonds effectively to ABS, PC, aluminum alloys, stainless steel, glass, carbon fiber, and ceramics.
- Low Tooling Cost & Fast Setup: Cliché plates and custom fixtures are economical and quick to produce, making pad printing highly cost-effective for both rapid prototyping and high-volume runs.
4. Pad Printing vs. Screen Printing: Which Should You Select?
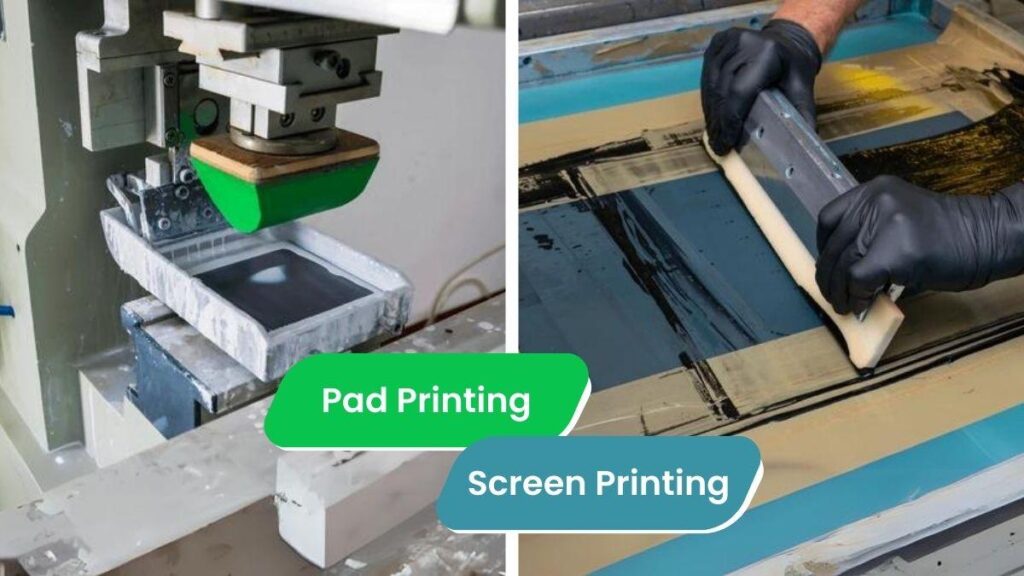
Procurement teams and design engineers often evaluate pad printing against Screen Printing. While both are highly versatile, their applications differ significantly:
| Comparison Dimension | Pad Printing | Screen Printing |
| Suitable Geometries | 3D curved, concave, convex, recessed, or irregular surfaces | Flat or uniform cylindrical/single-curve surfaces |
| Image Size & Coverage | Best for small-to-medium graphics (logos, buttons, dials) | Ideal for large-area coverage (chassis panels, signs) |
| Ink Deposit & Opacity | Thinner ink layer, fast-drying | Thick ink layer with maximum opacity and color saturation |
| Fixturing Requirements | Requires high-precision custom holding nests | Simpler, flat or rotational clamping setups |
Procurement Tip: Choose Screen Printing for large, flat, or cylindrical panels requiring heavy ink opacity. Choose Pad Printing whenever your target area involves complex 3D contours, tight enclosures, or small-scale graphic details.
5. Common Industrial Applications
Pad printing is utilized across virtually every modern manufacturing sector:
- Medical Devices: Markings on syringes, catheters, surgical handles, and diagnostic equipment buttons.
- Automotive Parts: Dashboard buttons, gear shift diagrams, steering wheel controls, and stalk switch icons.
- Consumer Electronics: Earbud cases, remote controls, game pads, and laptop keycaps.
- Precision Engineering: CNC machined enclosures, sheet metal markings, power tools, and hardware labeling.
FAQ
When paired with the correct ink chemistry and curing method, pad printing offers excellent durability. For low surface energy plastics (like PP or PE), pre-treatments such as Corona, Flame, or Plasma treatment are applied. For metallic components, two-component inks or heat curing ensure superior scratch and chemical resistance.
Pad printing is primarily designed for small-to-medium graphics. Because silicone pads must deform, standard print areas usually stay within 150 mm × 150 mm. Print areas larger than this may suffer from image distortion near the edges.
Yes, pad printing supports precise multi-color registration (typically 1 to 6 colors) using multi-station machines. However, for full-color photographic gradients, technologies like UV digital printing or thermal transfer are generally preferred.
Pinholes usually occur when ink viscosity is too high or pad press speed traps air. Blurry edges are typically caused by incorrect solvent evaporation rates, improper pad hardness, or mechanical vibration during the transfer stroke.
Harder pads yield sharper detail and less distortion on flat/mildly curved surfaces. Softer pads conform better to deep recesses or steep angles, but excessive compression can cause text line broadening.
Extremely. Cliché plates and holding fixtures have very low manufacturing costs and short lead times, making pad printing cost-effective for both initial engineering samples and low-to-high mass production runs.